Add notes, photos and buttons inside a room
- All plans
- Computer or phone
- Updated
In Vistura, you place a point on a photo with Add > Point on the photo, then choose what a tap on it does: show a note, a picture or a video, or ask the buyer to get in touch. These information points are what other apps call hotspots. Video and Book a viewing need Pro or Business on your account; every other type works on every plan.
Before you start
Open the photo of the room in the editor. On a phone, tap the photo in the list, then close its settings with the X to see the whole photo.
Steps
- Turn the photo until you see the spot you want to talk about, such as the oven or the view.
- Select Add (the + at the top right on a phone), then Point on the photo.
- Select the photo on that spot. A point appears there.
- If its settings do not open, select the point.
- Under What a tap does, choose a type from the table below.
- Fill in its content, and give it a name under Name, for example "Equipped kitchen".
- Under On the photo it shows as, keep Icon that opens, or choose Always open for a short text.
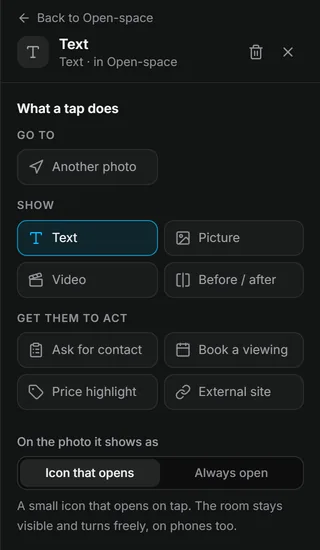
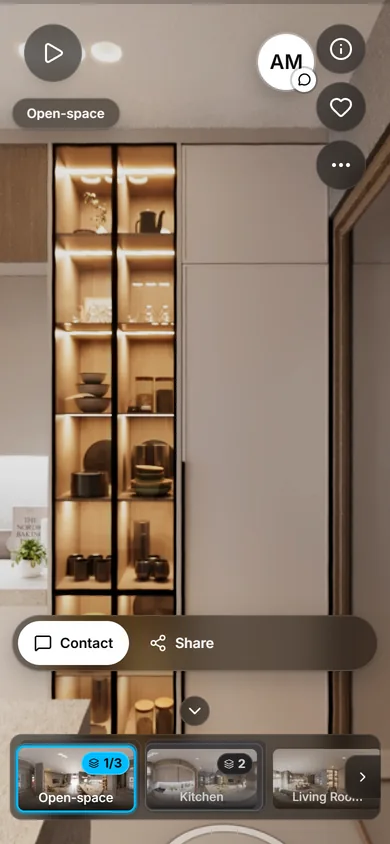
Result buyers see the point on the photo and tap it to open what you added.
The types
| Type | What buyers get | Plan |
|---|---|---|
| Text | A short note, up to 250 characters | Free |
| Picture | A picture they open full screen, with a line of text | Free |
| Video | A video from the tour, or a YouTube or Vimeo link | Pro |
| Before / after | Two pictures of the same view, with a slider: empty and furnished, or before and after renovation | Free |
| External site | A button that opens a website, such as the brochure | Free |
| Ask for contact | One of your forms; the answer reaches Leads | Free |
| Book a viewing | Your Visit calendar: they pick a free time | Pro |
| Price highlight | A price and a button, for a parking space or furniture | Free |
Was this helpful?
Thanks for telling us.
Sorry it did not help. Write to us and we will answer: support@vistura.app
More in this section: Build the tour
- Add, replace and download photos
- Organise rooms and floors
- Name the tour and choose its cover
- Link the rooms so buyers can walk through
- Property details, location and what's nearby
- Add notes, photos and buttons inside a room
- Add or change a contact form
- Add a floor plan to your tour
- Add a video (drone or walk-through)
- Narrate the rooms and run a guided tour