HDR Real Estate Photography: Brackets, Merging and 360
HDR real estate photography step by step: how many brackets at what EV step, merging without ghosts or halos, flambient vs HDR, and HDR on 360 cameras.
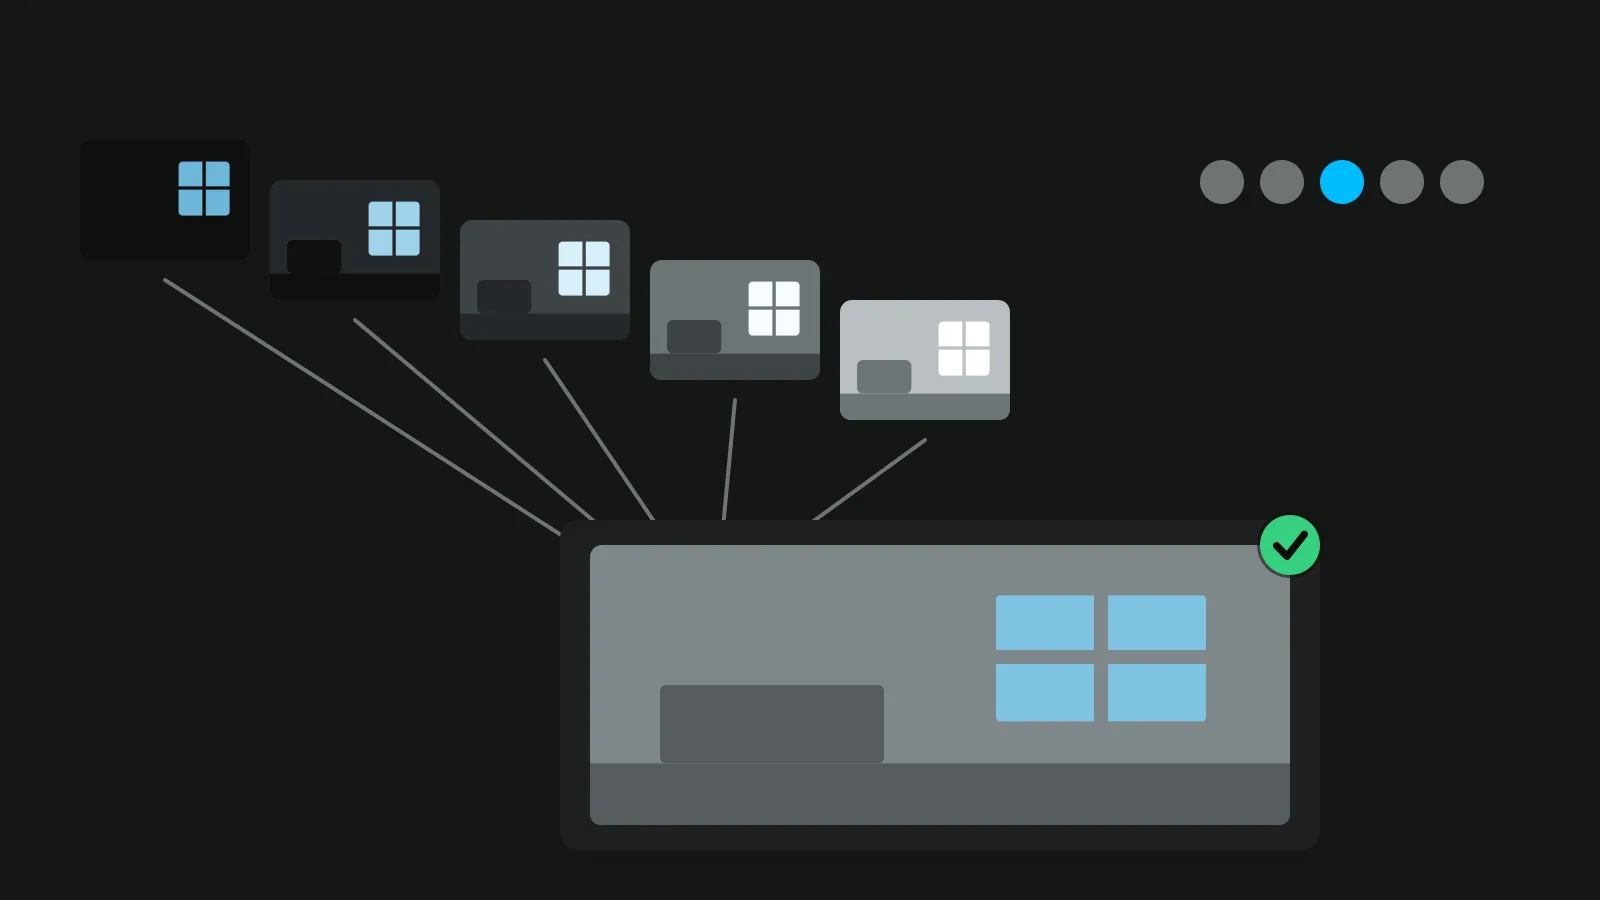
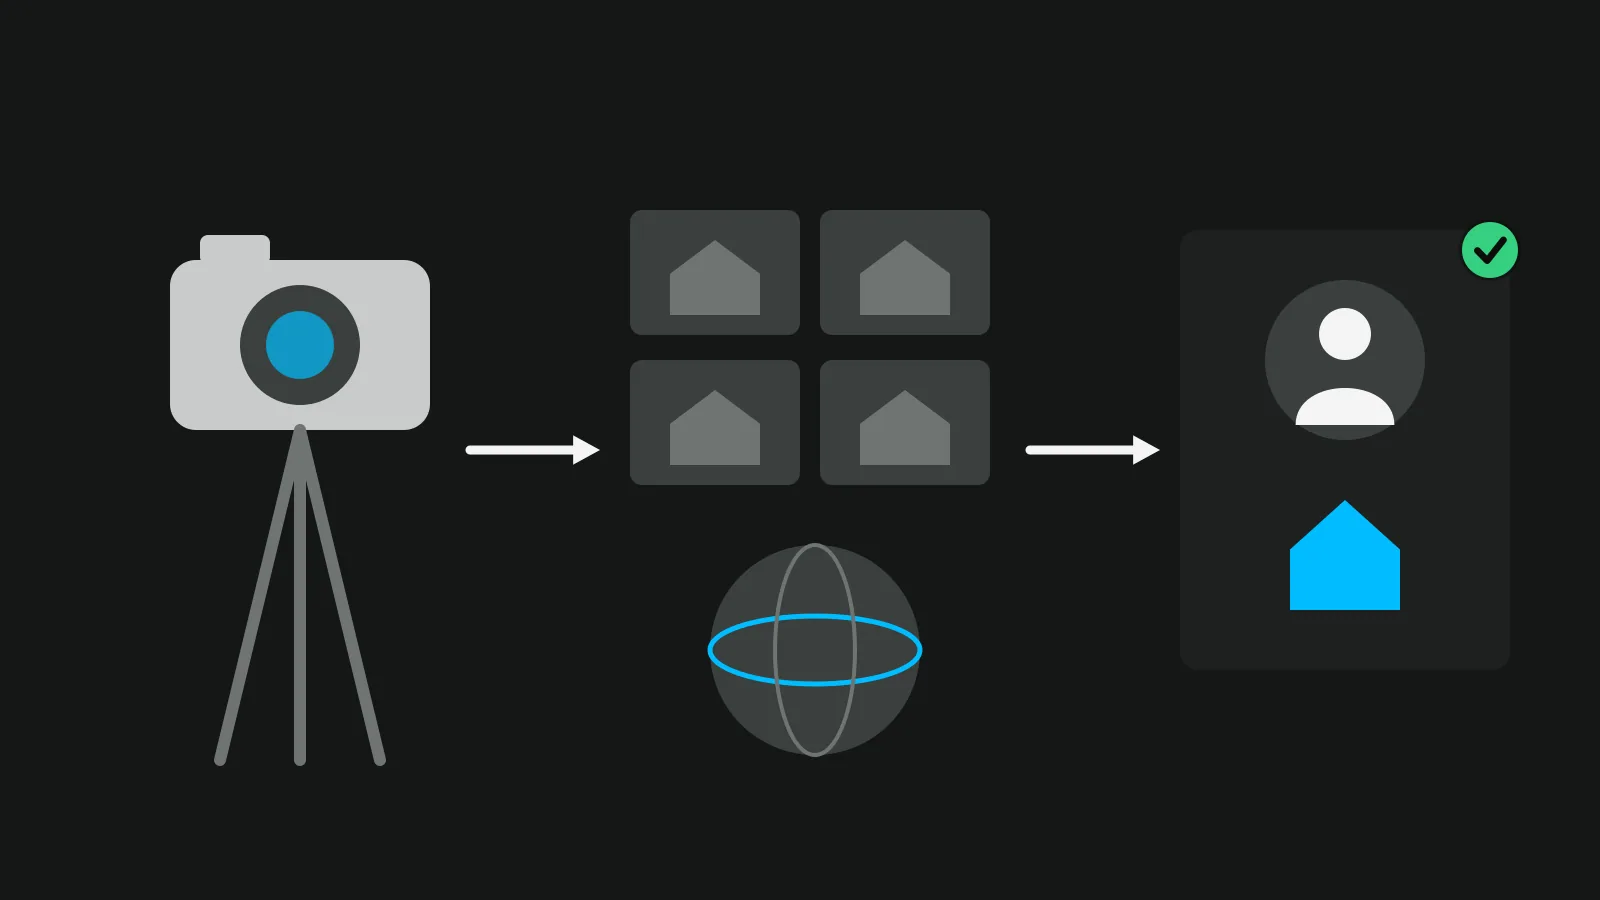
HDR real estate photography means taking the same room at several exposures from a tripod and merging them, so the window and the darkest corner both keep detail. Three frames two stops apart cover most rooms; a sunny window needs five to seven. Merge them in software that blends naturally rather than tone-maps hard. On a 360 camera, the camera does the bracketing for you, but you have to leave the room. On a phone, HDR is automatic: see these real estate photography tips instead.
When a room needs HDR, and when one exposure is enough
A room needs HDR when the window is far brighter than the room. You can see it on the camera's histogram: the window presses against the right edge while the corners sit at the left. No single exposure holds both, so you take several and merge them.
Many rooms do not need it. On an overcast day, in a north-facing room, or with the light coming from a shaded side, one well-exposed RAW file often holds enough. Real estate HDR photography is a tool for contrast, not a default for every frame.
The easiest bracket is the one you avoid. Shoot each side of the house when the sun is not on it: the free sun path tool shows the hours of direct sun on each side of a home for any day.
How many brackets, and how many stops apart
Fixed recipes ("always five frames from -4 to +4") waste time in easy rooms and fall short in hard ones. A better method starts from HDRsoft, the maker of Photomatix, in its interior tutorial: measure the two ends of the room. HDRsoft then enters both readings in its HDR Exposure Calculator; you can count the stops yourself, as below.
Measure the two ends
- Set the camera to spot metering.
- Meter the darkest part of the room you want to keep (a corner, the shadow under a table) and note the shutter speed.
- Meter the brightest part of the window you want to keep, not a sun reflection or a bare bulb, and note that speed too.
- Set the bracket step to 2 EV if your camera allows it, or to its widest step.
Count the stops
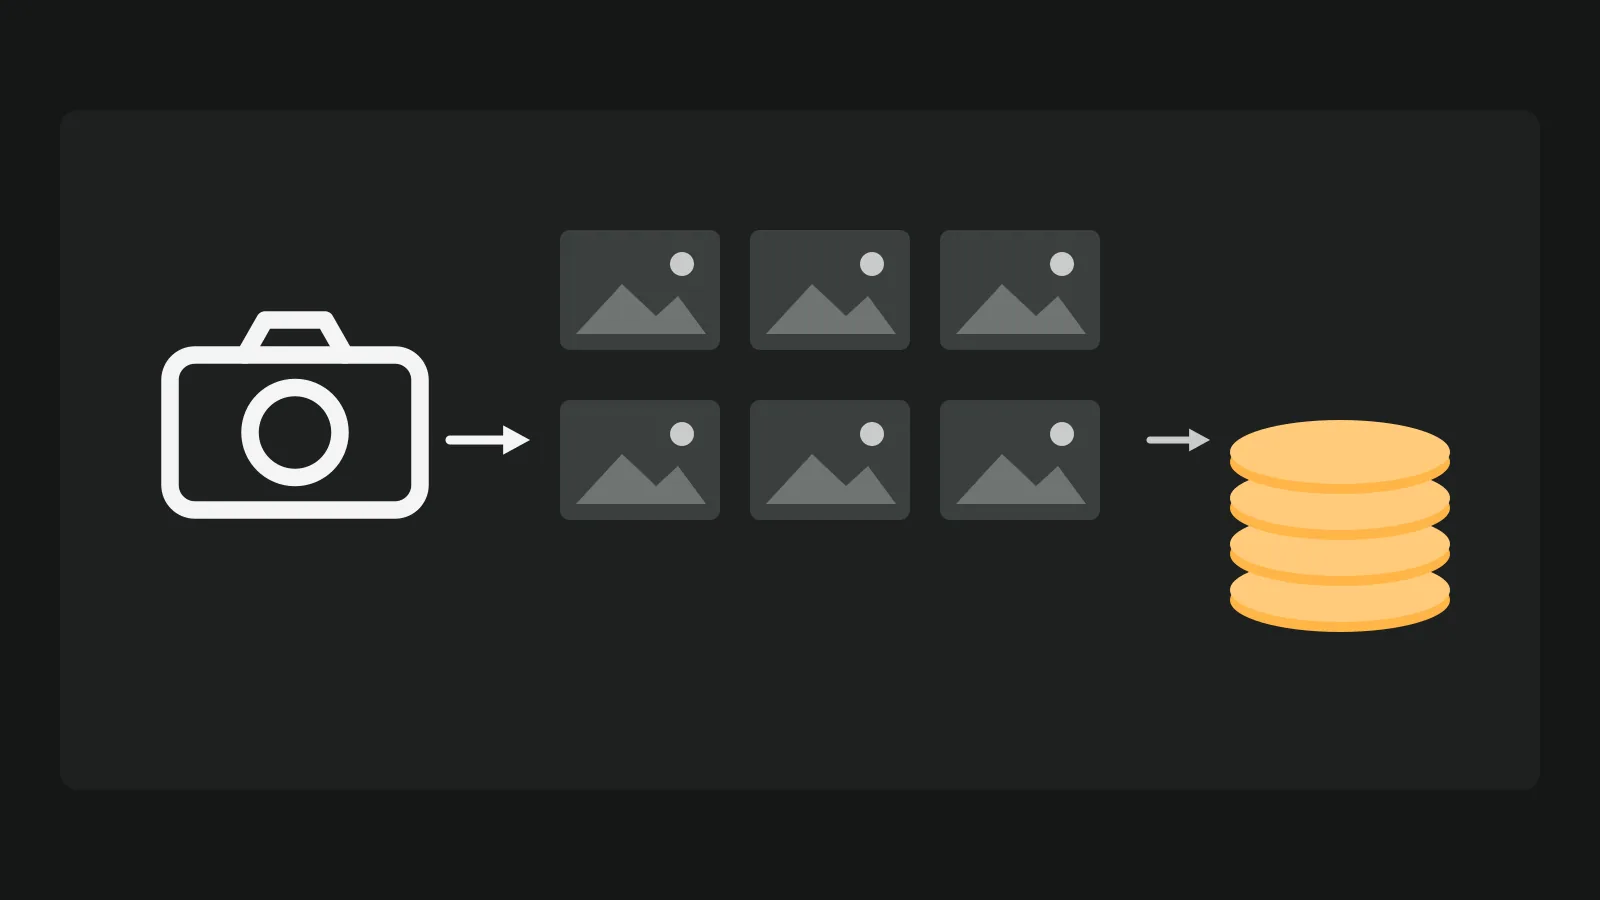
Each halving of the shutter time is one stop. An example, worked out for this article: the corner meters at 1/4 s and the window at 1/500 s. From 1/4 to 1/8, 1/15, 1/30, 1/60, 1/125, 1/250 and 1/500 is seven stops. Three frames at 2 EV (-2, 0, +2) cover the middle of that; five frames at 2 EV (-4 to +4) span eight stops, plus the range each frame holds on its own.
| Stops between darkest and brightest | Frames at 2 EV | Typical room |
|---|---|---|
| Up to about 6 | 3 | Window in shade, lights on, overcast day |
| About 7 to 9 | 5 | Bright window, darker room |
| More (sun in the window) | 7, or come back when the sun has moved | Sunny window facing the camera |
These are starting points worked out from the meter, not a rule. Check the merged file and add a frame if the window or the corner is still clipped.
Keep everything else fixed
Keep ISO and aperture the same in every frame, so only the shutter speed changes. Use a tripod, a 2-second timer or a remote, and shoot RAW if your camera has it. Switch the flash off.
Merging: natural blend or tone mapping
In Lightroom Classic, select the brackets and choose Photo > Photo Merge > HDR. Adobe's help says the result is saved as a new DNG that you edit like a raw file. Auto Align corrects slight movement between frames, which is useful for handheld sets and may not be needed on a tripod.
In Photomatix Pro, the exposure fusion method for interiors is now called Fusion/Interior (it was Fusion/Real-Estate), and for interiors with a bright window HDRsoft names the Natural and Interior 2 presets as a good start.
The choice that decides the look is between blending and tone mapping:
- Blending (exposure fusion) takes the well-exposed parts of each frame and joins them. The result looks like a photo.
- Strong tone mapping pushes local contrast to squeeze the range. Pushed too far, it causes halos around windows and grey whites.
Start from the natural preset and stay close to it. Then edit globally: white balance, straight verticals, a little contrast. For a 360 photo, use global sliders only (here is why), because local edits can break the seam.
Ghosting: what moves between frames
Anything that moves between frames shows up twice, half transparent. Lightroom's Deghost Amount has four settings (None, Low, Medium and High), and Adobe's advice is to start low and raise it only if the overlay shows doubled objects.
It is faster to stop the movement before you press the shutter. In a home, check:
- Ceiling fans: off, and wait until they stop.
- Curtains and blinds: windows closed, so nothing sways.
- TV and screens: off, or a still image.
- Pets: out of the room.
- Mirrors and glass doors: move until your own reflection is out of the frame.
- Trees and cars outside the window: shoot the window frames last and fast, or come back on a still day.
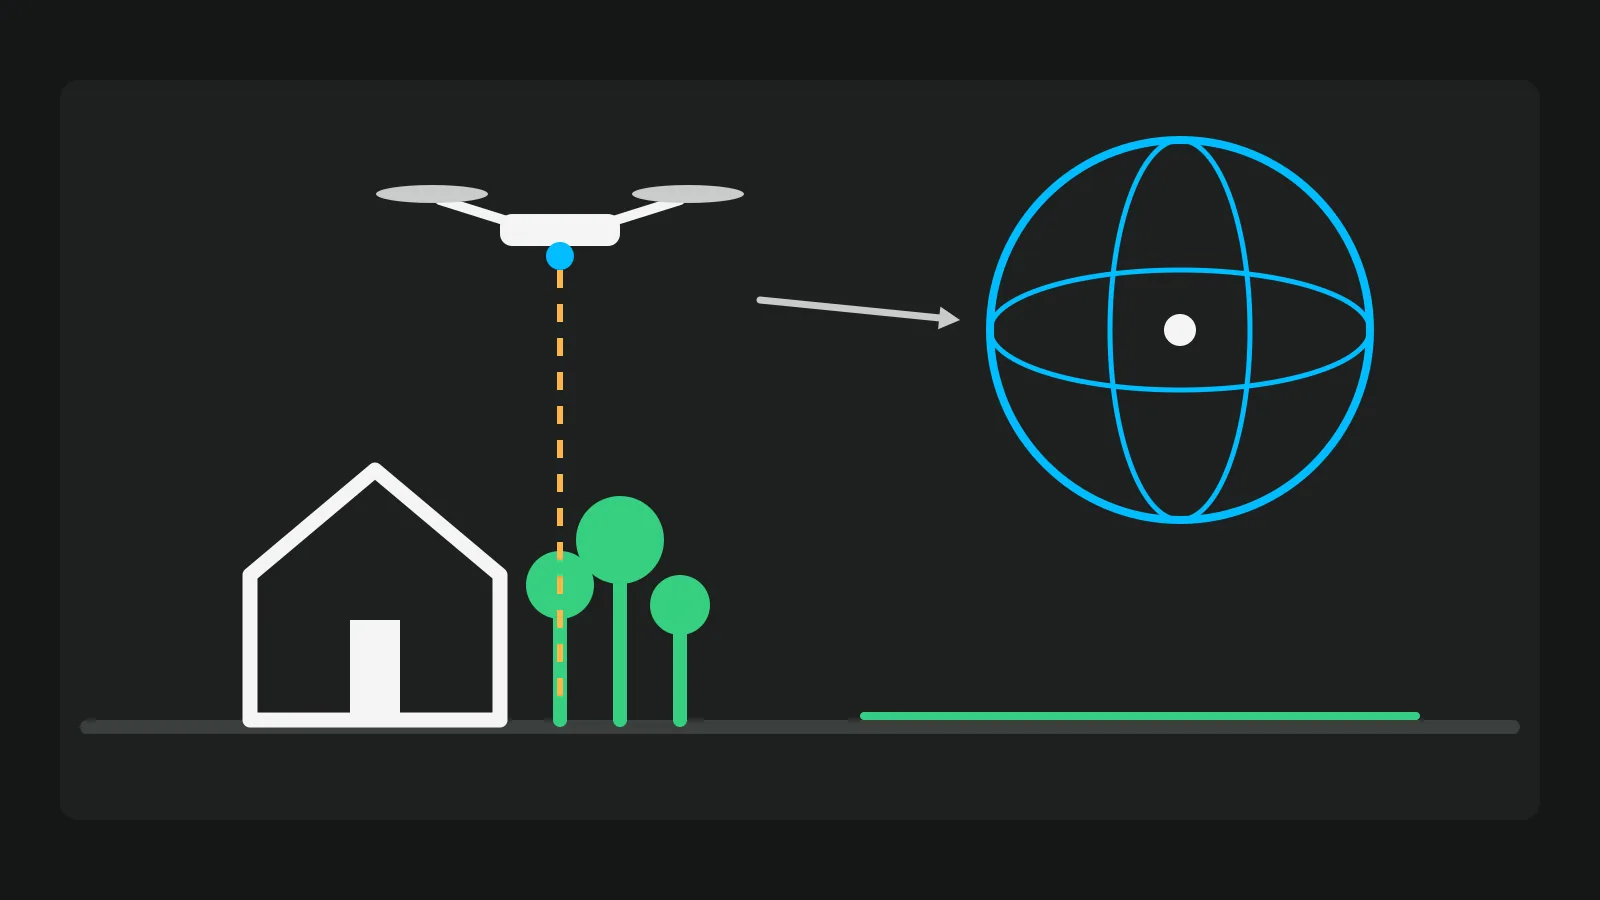
On a 360 camera there is one more: you. Every frame sees the whole room, so you appear in each one unless you leave (see the 360 section below).
HDR vs flambient: which one for which listing
Flambient means flash plus ambient. You shoot one or more frames lit by a flash, for clean and neutral colour, and one or more ambient frames, for the mood of the room's own light. Then you blend them by hand with layer masks.
| HDR brackets | Flambient | |
|---|---|---|
| Kit | Tripod | Tripod plus one or more flashes |
| Time on site | Short | Longer |
| Editing | Merge, mostly automatic | Layer masks by hand, or an editing service |
| Colour | Mixed light can tint walls | Flash neutralises colour casts |
| Best for | Most listings, 360 tours | High-end listings, kitchens with mixed light |
Many photographers combine the two: brackets for the window, and one flash frame to clean up the colour of the walls.
Flambient does not carry over to a 360 camera. A 360 sees in every direction, so the flash and its stand end up in the sphere, and there is no side of the room to hide them on.
HDR on a 360 camera
Most 360 cameras offer two ways to take an HDR 360 photo: a one-tap HDR mode that merges in the camera, and a bracketing mode that takes several frames you choose.
Insta360. The HDR Photo mode on the X3, X4, X4 Air, X5 and X6 is "recommended for scenes with significant differences in light levels or backlighting", and the camera merges the exposures itself. AEB, on the X4, X4 Air, X5 and X6, suits scenes where "the environment is relatively static": you tap HDR Photo, choose AEB, then set the "Number of photos" and the "Exposure Step" in the app (try the widest step). On the X6, the manual says AEB takes 3 or 5 shots at the 120MP setting; for 7 shots you switch to 30MP. That is a real trade: more range, or more resolution.
Ricoh Theta. On the Theta X, HDR rendering and handheld HDR are options of normal shooting. Multi Bracket in the Ricoh app takes 2 to 19 frames on firmware 3.00.1 or later, each with its own shutter speed, ISO and white balance; check your model's specifications, and plan to merge those frames on a computer. The HDR-DNG plug-in for the Theta X processes four RAW images into one HDR-DNG file. Ricoh described the Z1's handheld HDR in 2021 as suitable for moving subjects.
Two habits matter more than the mode:
- Leave the room, or stand behind a door. In a 360 every frame sees you, and in a bracket you become a ghost.
- Use the phone app as a remote, with the camera on a tripod or a light stand, not on a selfie stick in your hand.
For which camera to buy, see which 360 camera to buy for real estate.
Once merged, the 360 photos and your best flat stills go in one Vistura tour on every plan: the 360s turn around, and a photo set as "Regular photo (not 360°)" is shown flat, without turning. Export the merged files as JPEG; the tour takes JPEG, PNG and WebP.
The overcooked look: causes at the merge, and the fix
The cartoon look of bad HDR is made at the merge. The usual causes:
- tone-mapping strength and local contrast pushed up;
- a very wide bracket flattened into one, so the window comes out the same brightness as the room;
- saturation and "detail" sliders added on top;
- a halo left around the area the deghost step repaired.
The fix starts at the merge. Begin from a natural preset and lower the strength. If the window looks grey, drop the darkest frame and merge again. After that, use global edits only. To spot the result on screen, check the signs of the fake HDR look.
Windows: blend your own frame, never a new view
A window pull blends the window from your own darker frame into the merged room. What buyers see through the glass stays what is really there: the same garden, the same street, at a brightness they can read.
The line is the view itself. In California, the CRMLS FAQ on digitally altered images (updated 13 February 2026) leaves brightness, exposure and lighting adjustments out of its rule, and forbids altering elements outside the property, including "views through windows". For other MLSs, see the rules table in our guide to editing listing photos. Anywhere else, the same principle holds: the photo must show the home as it is.
After the merge: one look for the whole listing
Rooms merged at different times of day come out at different brightness and warmth. Seen one after another in a listing or a tour, the jump is obvious. Even them out before you upload.
In the Vistura tour editor, "Auto colour on all photos" brightens dark rooms, keeps windows from burning out and takes away the yellow or blue cast of indoor light, on 360 and regular photos alike, on every plan, and the original photo is always kept. On Pro, "Adjust by hand" adds Brightness, Shadows, Highlights, Warmth and Vibrance sliders that start from Auto. Every new account starts with 14 days of Pro, with no card; see the plans.
When a room was shot at one exposure and the shadows came out heavy, the free Brighten real estate photos tool is the quick fix: it lifts the shadows and holds back the window on many photos at once, in your browser, with no account. It works on a single exposure; for a sunny window, bracket.
Checklist
- Tripod, 2-second timer or remote.
- ISO and aperture fixed; only the shutter changes.
- Meter the darkest corner and the brightest window; count the stops.
- Frames at 2 EV: three, five or seven.
- Fans, TV and pets dealt with; windows closed.
- On a 360, leave the room.
- Merge with a natural preset.
- Global edits only.
- The same look on every photo of the listing.
Frequently asked questions
Do I need a tripod for HDR real estate photos?
For brackets, yes: the frames have to line up. Insta360 says its AEB mode suits a relatively static scene. Ricoh's handheld HDR on the Theta Z1 is the exception, made for subjects that move.
Can one RAW file replace a bracket?
For a room with a moderate window, often yes. A window with the sun in it holds more range than one frame can keep, so shoot a bracket there.
Does HDR count as an altered photo on the MLS?
Under CRMLS rules, adjustments to exposure and lighting are not digitally altered images, but changing the view through a window is not allowed. Other MLSs have their own rules, so check yours.
Should the room lights be on when I shoot brackets?
Usually yes, with bulbs of one colour. Mixed bulbs tint the walls in different tones, which the merge or a flash frame then has to even out.