How to embed a virtual tour on your website, step by step
How to embed a virtual tour on your website, or a single 360 photo: the code, WordPress, Wix and Squarespace steps, sizing and a phone check.
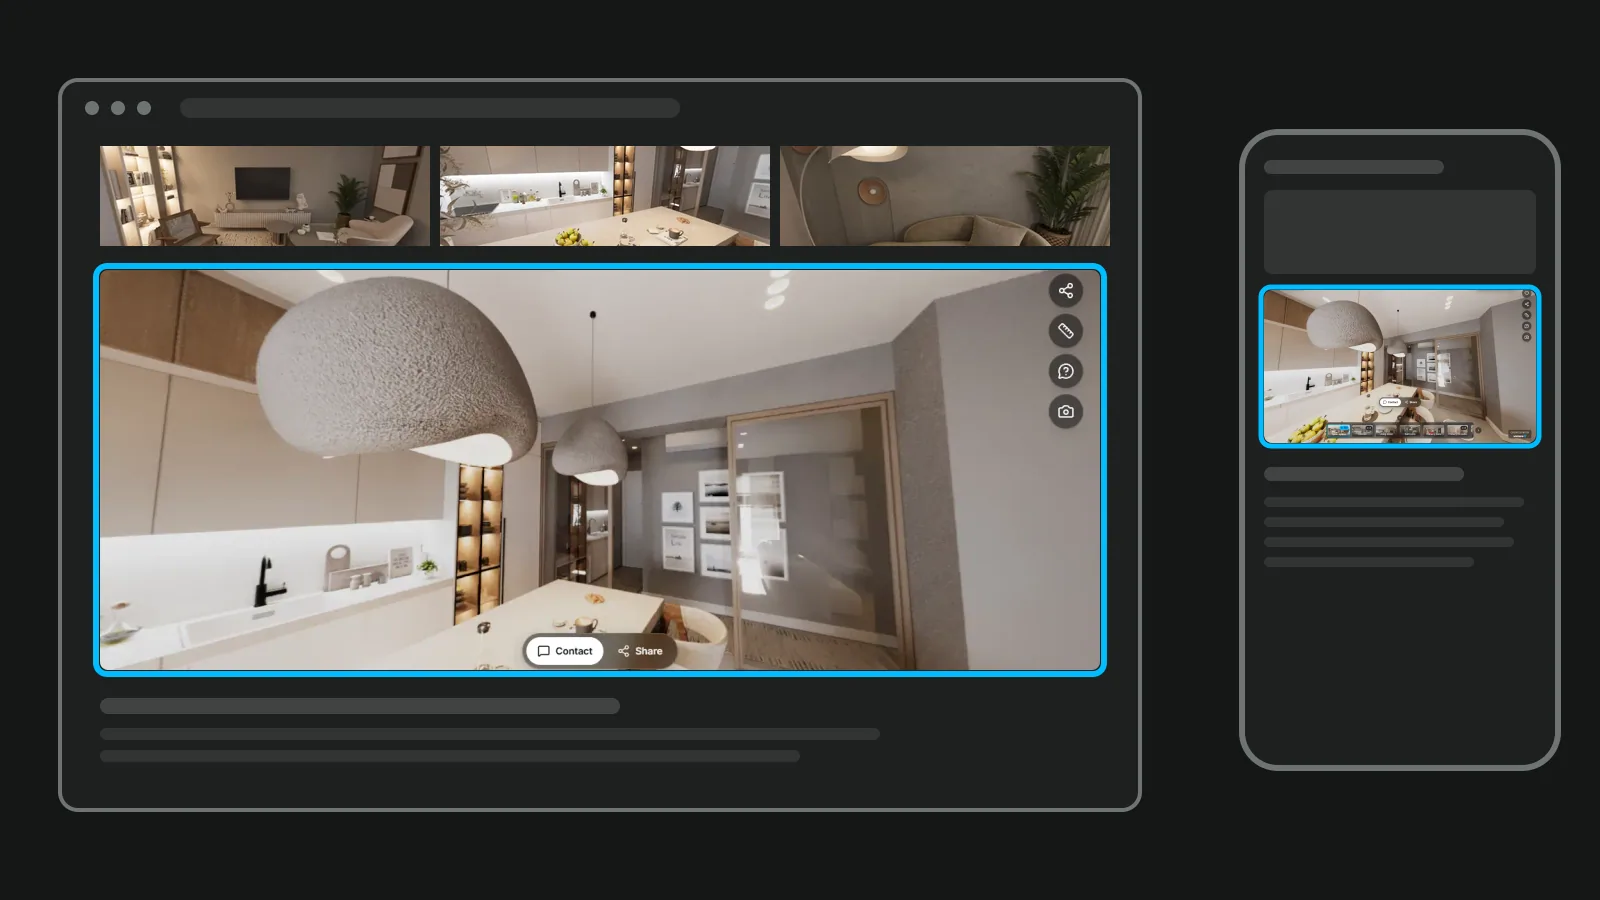
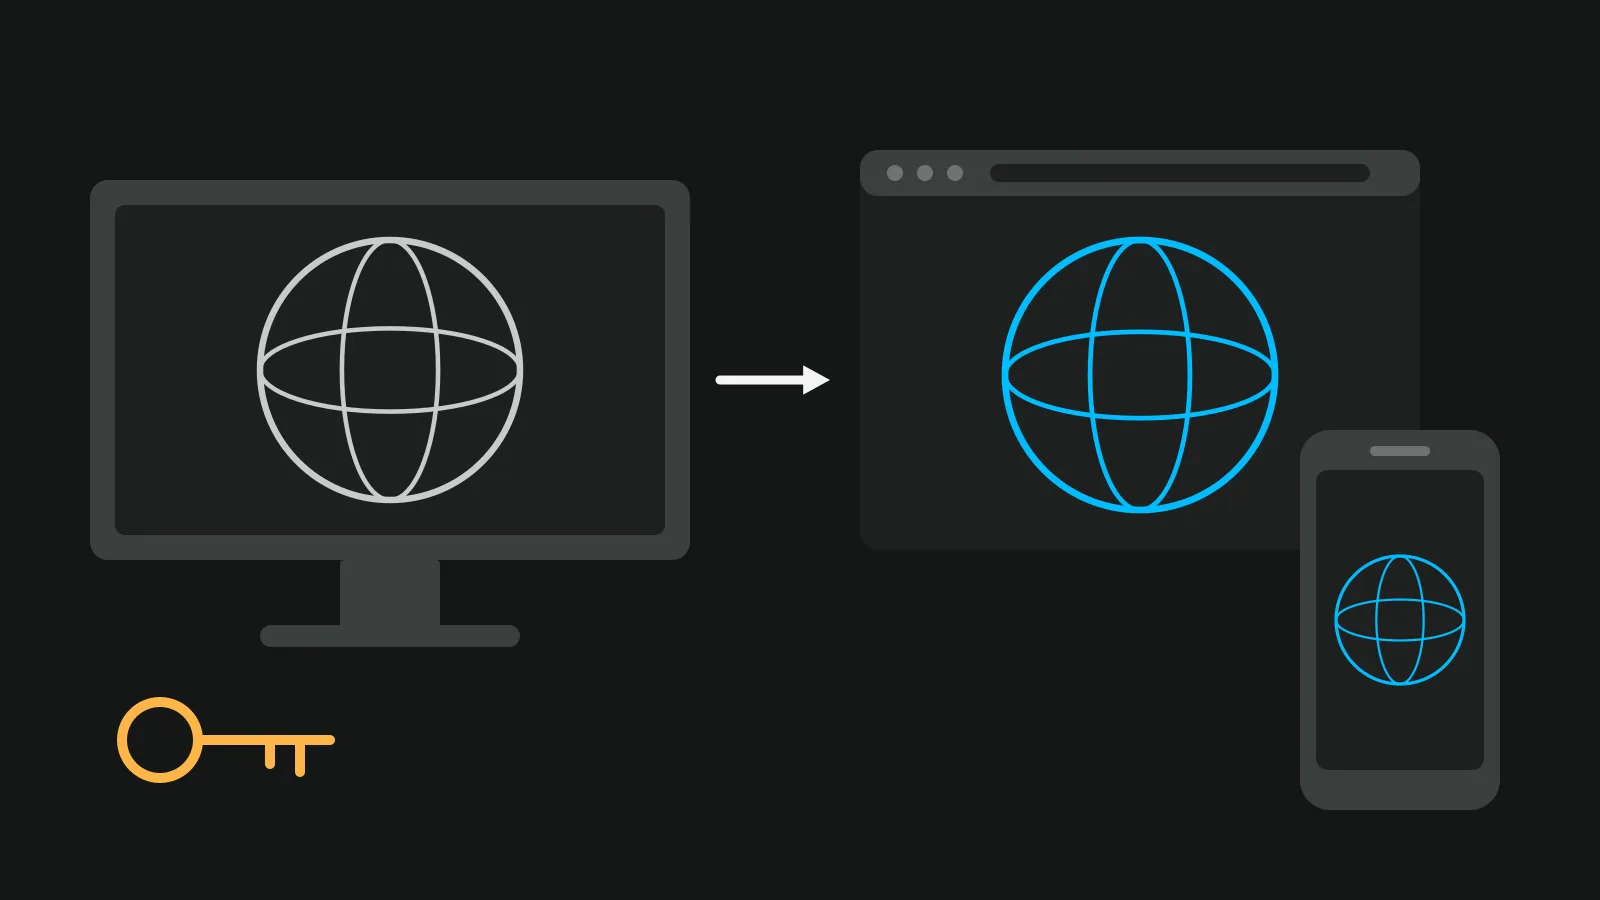
Here is how to embed a virtual tour on your website: copy the embed code from your tour app, paste it into an HTML or code block on the property page, make the frame fit every screen, and check it on your phone before you publish. The same steps work for a single 360 photo. Below you get the steps for WordPress, Wix and Squarespace, a code you can copy, and a phone checklist.
What you need before you start
If you are new to tours, the guide to the real estate virtual tour explains what one is and how buyers use it. To embed one, have these ready:
- The embed code, not only the link. A link opens the tour on its own page. The embed code is a line that starts with
<iframeand shows the tour inside your page. - A tour anyone can open. Set it to Public. On Pro you can switch off Show in Google and other search engines, so only people with the link see it. A private tour shows a "private" message inside the frame, not the rooms.
- Rights to edit the page. On WordPress you need an account that may add code (more on this below). If someone else runs the site, send them the code by email.
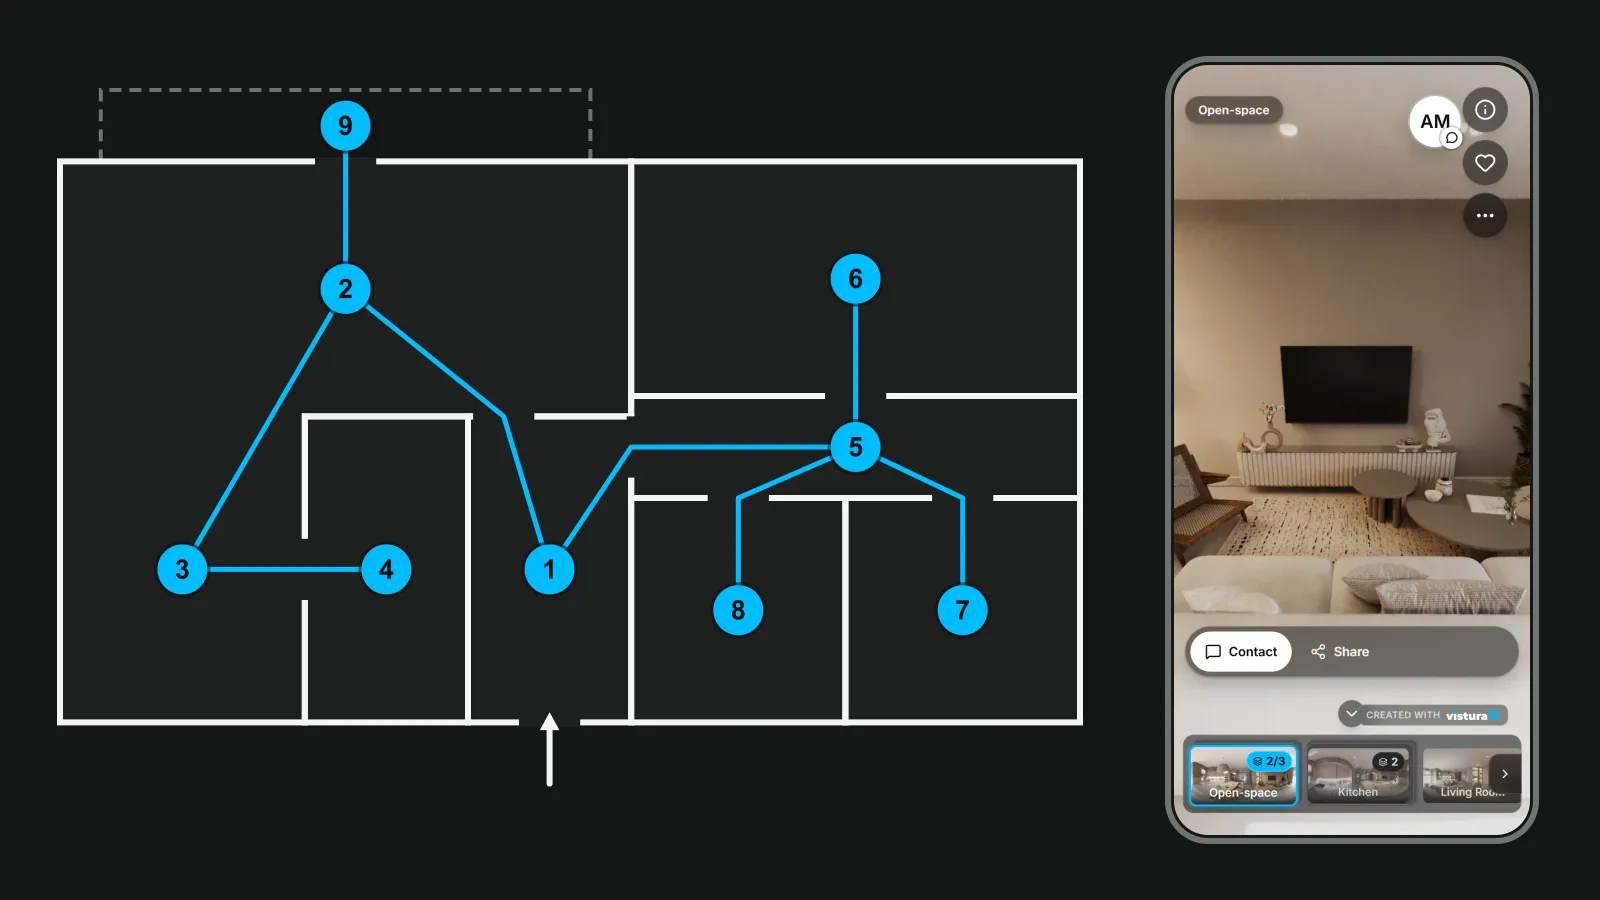
- One 360 photo works the same way. Make it a tour with one room and embed that. To look at the photo first, open it in the free 360 photo viewer.
Step 1: copy the embed code
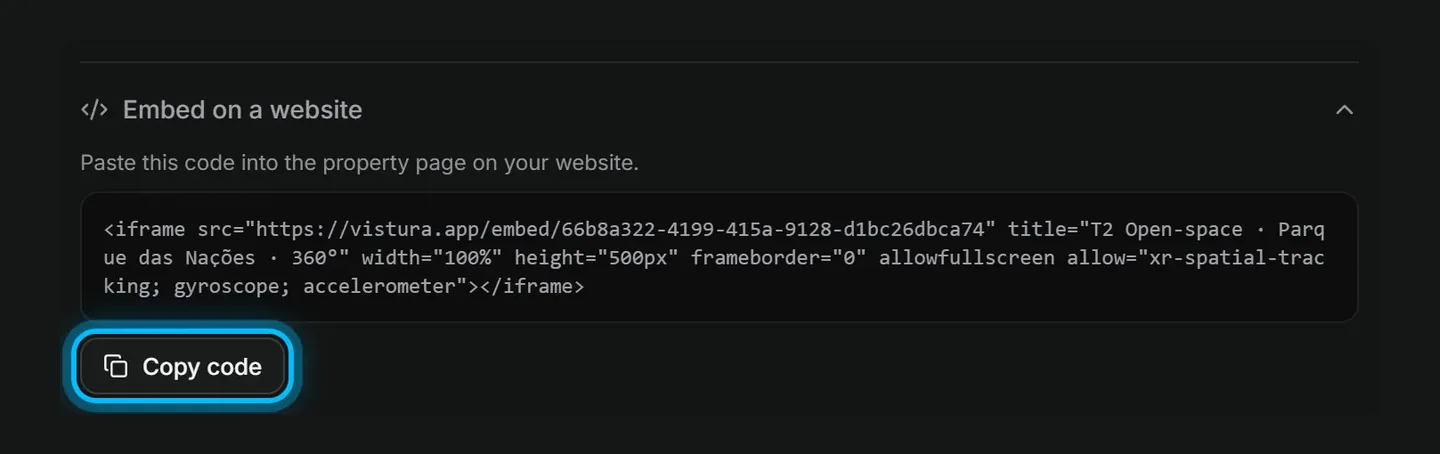
Most tour apps keep the code under a button called Share, Embed or Publish. Look for "embed", "iframe" or "code", and copy the whole line, from <iframe to </iframe>.
In Vistura, open the tour, press Share, and go to "Embed on a website". Press "Copy code", and the hint tells you what comes next: "Paste this code into the property page on your website." It works on every plan, and the code already fills the width of the page and carries the tour's name as its title.
Step 2: paste it into your website builder
Every builder has a block for code. The catch is what stops the code from showing.
| Builder | Where the code goes | The catch |
|---|---|---|
| WordPress (own install) | Custom HTML block | Accounts without the right to add code lose the iframe on save |
| WordPress.com | Custom HTML block | Iframes only on a plugin-enabled plan |
| Wix | Embed Code > Embed HTML | Only HTTPS code shows |
| Squarespace | Code block | Iframes need Core, Plus or Advanced |
| Agency software site | An HTML, code or embed field | Ask the provider if there is none |
WordPress (your own install)
- Open the property page and add a Custom HTML block: use the Block Inserter, or type
/htmlin a new paragraph (WordPress documentation). - Press Edit HTML and paste the code.
- Press Update to save.
If your account lacks the unfiltered_html capability, for example a Contributor, WordPress strips the <iframe> from the block when the post is saved (WordPress documentation). The block looks fine while you edit and then shows nothing. Ask an Administrator to paste it, or to change your role.
WordPress.com
The block is the same, but the plan decides. WordPress.com lets only sites on a plugin-enabled plan with hosting features activated use an iframe; before activation, the same limits as free sites apply (WordPress.com support). On a free site the code will not show.
Wix
- Click Add Elements > Embed Code > Popular Embeds > Embed HTML (Wix Help Center).
- Click Enter Code and paste it under "Add your code here", then Apply.
- Size the element in the editor.
Wix shows only HTTPS code and URLs. Its HTML element is itself an iframe, so the content inside does not resize on its own: set the iframe's width and height to 100% in the code, and size the element in the editor instead (Wix Help Center). Check the mobile view in the Wix editor too.
Squarespace
- Click Add block > Code, then the pencil icon.
- Paste the code and leave Display Source off (that option shows the code as text).
- Save and preview.
To add an iframe to a code block, your site needs the Core, Plus or Advanced plan. Code may not appear while you are logged in, so use Preview in Safe Mode, and Squarespace warns that custom code can break a page's look, "especially on mobile devices" (Squarespace Help).
A site that came with your agency software
Many agency websites come with the property software. Open a property in its back office and look for a field or block called HTML, Code, Embed or Widget. If you find neither, ask the provider's support where an iframe goes on a property page.
Step 3: make the frame fit every screen
A tour embed code is short. Here is what each part does, so you know which one to change:
| Part | What it does |
|---|---|
src | The tour's address. Never change it. |
title | What screen readers announce, so blind visitors know what the frame holds (MDN) |
width="100%" | Fills the width of the column it sits in |
height | The number you change to make the frame taller or shorter |
allow, allowfullscreen | Permissions the frame may use; allowfullscreen is the legacy form of allow="fullscreen" |
frameborder | Deprecated; border:0 in the style does the same |
Add loading="lazy" when the tour sits below the photos. The browser then loads it only when the reader scrolls near it (MDN). Google's web guidance says this works in all the major browsers and "saves data, speeds up the loading of other parts of the page, and reduces memory usage" (web.dev).
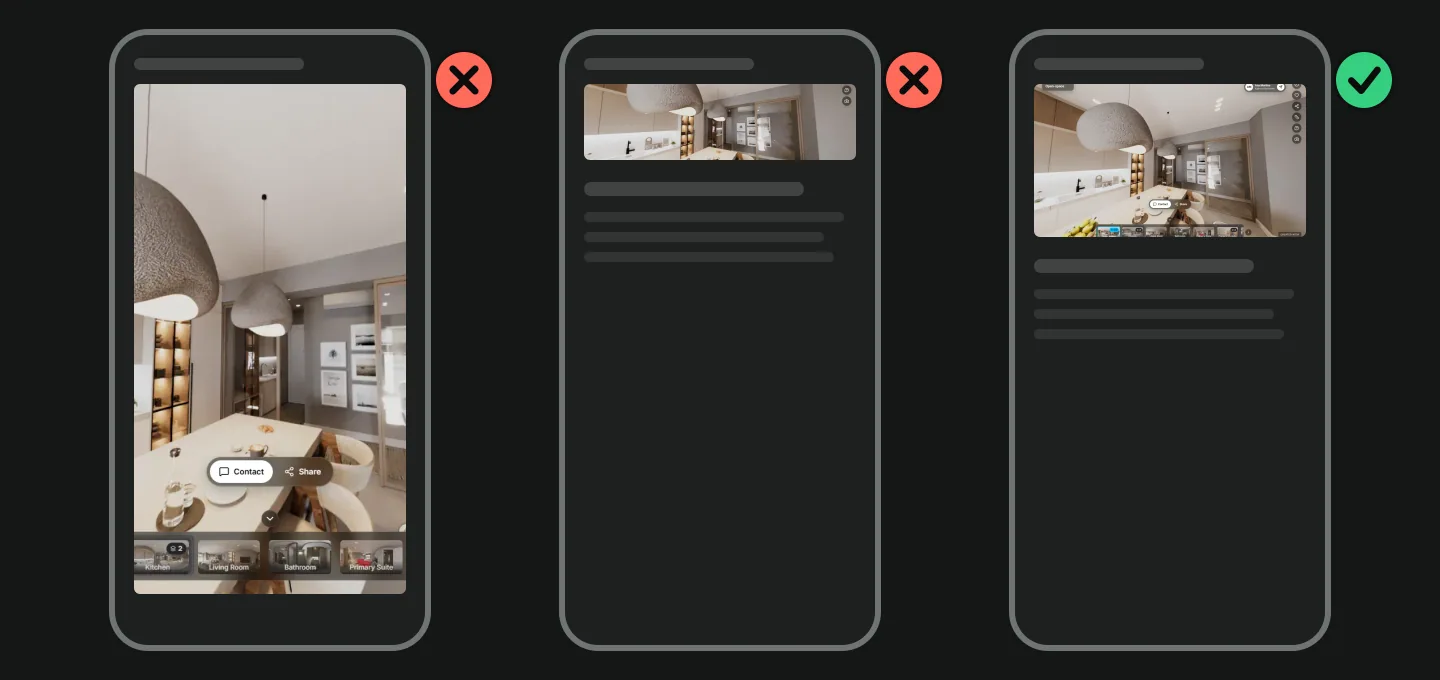
A fixed height looks right on a laptop and too tall or too flat on a phone. To keep the same shape on every screen, give the frame a ratio instead of a height:
<iframe src="https://YOUR-TOUR-ADDRESS" title="Two-bedroom flat, 360 tour"
  width="100%" loading="lazy" allow="fullscreen"
  style="border:0; aspect-ratio:4/3; max-height:80vh"></iframe>
Replace the address with your tour's, keep your own title, and delete the height attribute: aspect-ratio works only when one of the two sizes is left automatic. The property has worked across browsers since September 2021 (MDN), but check the result on a real phone, because themes and builders add their own styles.
Two tips from practice. A shape of 4/3, or taller, suits a phone better than a wide 16/9 strip. And max-height:80vh keeps the frame shorter than the screen, so there is always some page around it to scroll with.
Where to put the tour on a listing page
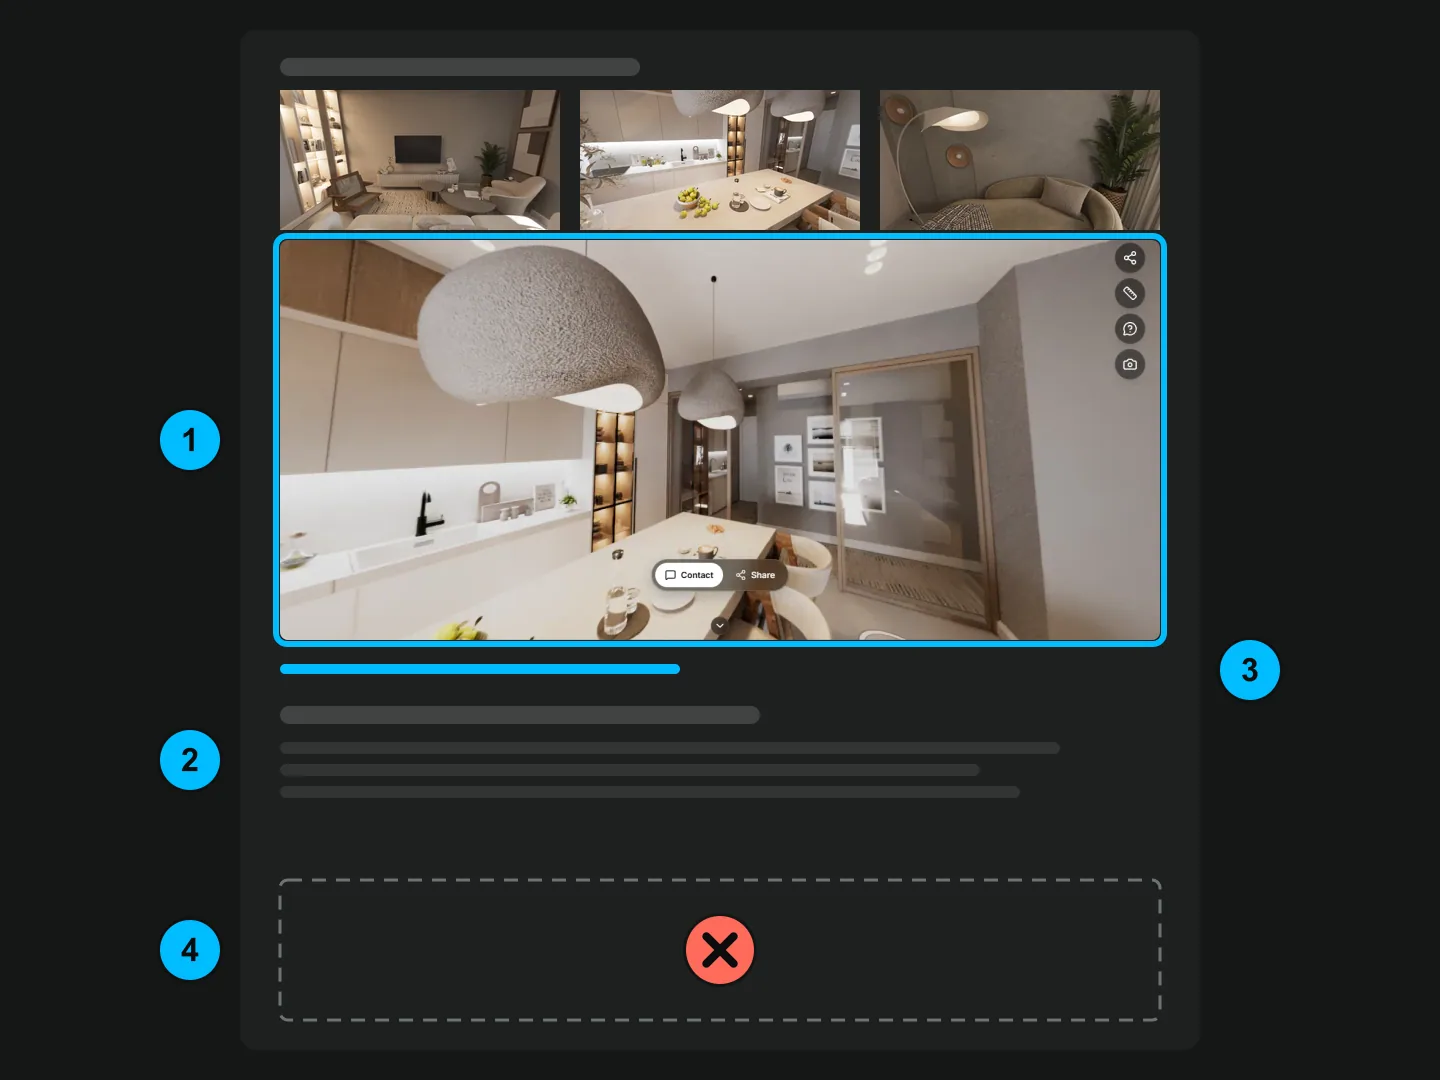
- Near the top, after the photo gallery. Buyers look at photos first; the tour comes next, before the long description.
- Keep the property's facts on the page itself. The price, the text and the features belong in your page, not only inside the tour, which lives at another address.
- Add a plain link under the frame. Write "Open the 360 tour full screen" and link it to the tour's own address. On a phone, a link to the tour's own page lets buyers see it full screen.
- One tour per page. Several heavy frames on one page make it slow.
Step 4: check it on your phone before you publish
Open the published page on your own phone and go through this list:
- Scroll past the tour with one thumb. If every swipe turns the room instead of moving the page, make the frame shorter.
- Drag inside the frame. The room should turn.
- Tap the link under it. The tour should open on its own page.
- Look at it logged out, or in a private window. Squarespace, for one, can hide code from logged-in editors (Squarespace Help).
- Load it on mobile data, not only on the office Wi-Fi.
- If the frame is empty, go through the usual suspects: HTTPS (Wix), the plan (WordPress.com, Squarespace), your account's rights (WordPress), or a private tour.
Your website, portals and email are three different jobs
- Your website takes the embed code.
- Portals set their own rules for virtual tours. Paste the tour's link in the listing's virtual tour field, where the portal has one, and check its instructions for which tours it shows. Vistura's "Link for portals" gives you a link for each portal, with an option "Without my contacts and logo", and counts each portal's visits apart (the By portal view is on Pro). For signs and print, see QR codes for real estate signs.
- Email and messages. Send a picture of the tour with a link to it, not the embed code.
See whether people use the tour on your site
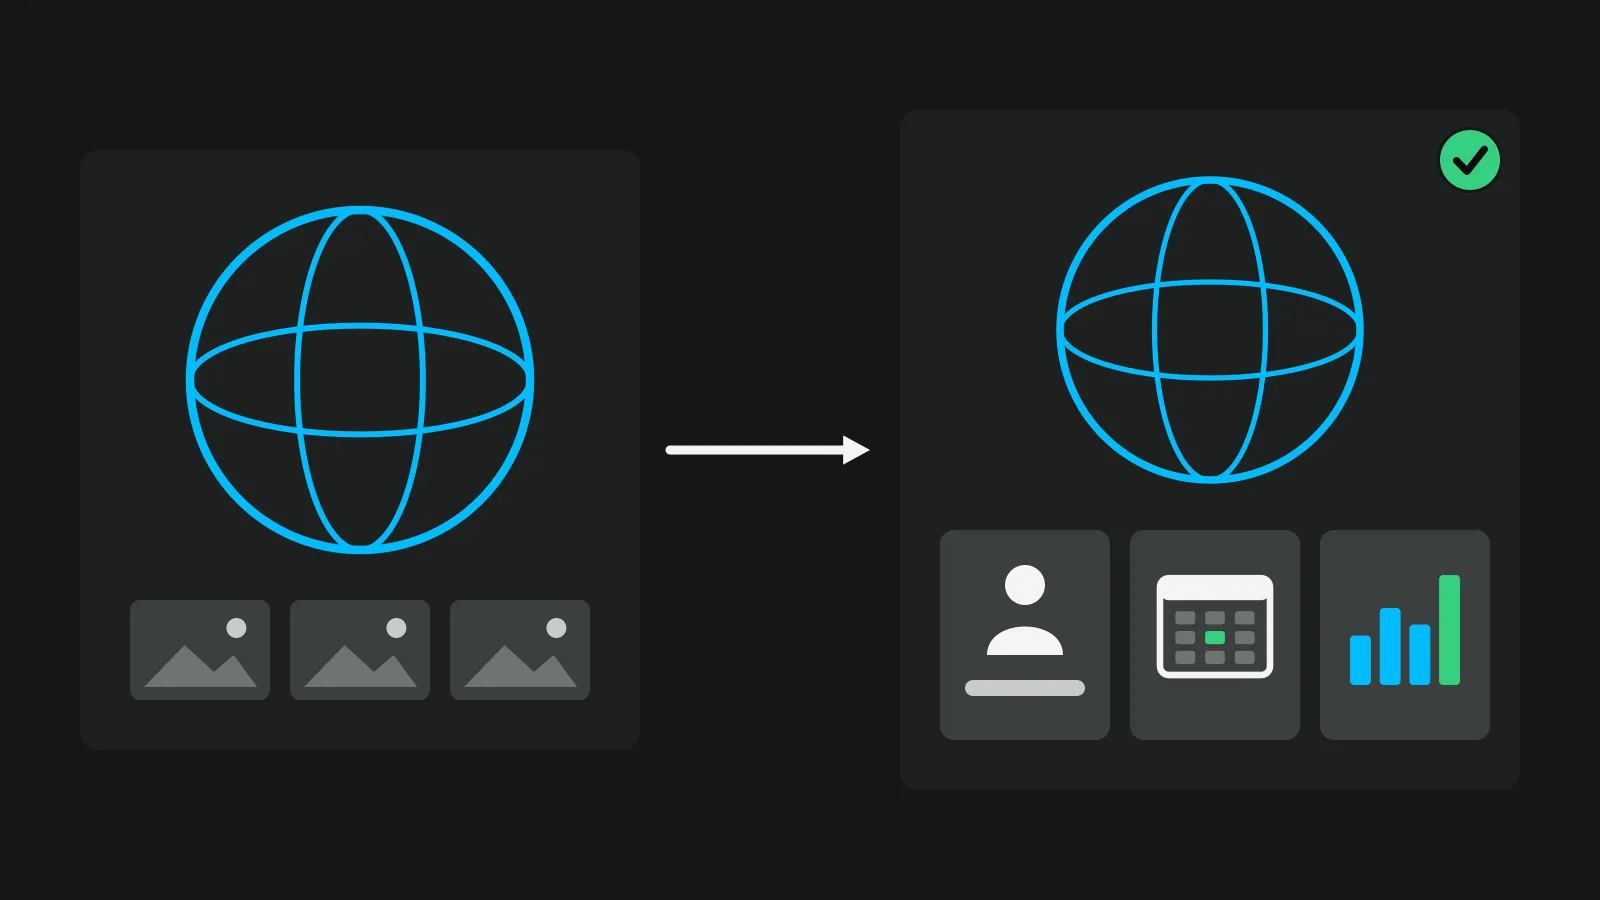
An embedded Vistura tour keeps the agent card, WhatsApp and the contact form inside the frame, and the leads arrive in Leads on every plan. Visits from your site are counted on their own, as "Your website (embedded)", from the first day. On Pro you see that breakdown by source, next to rooms, time and devices, and the tour carries your agency's logo and colours with no Vistura badge. On Pro, once you turn on automatic rotation, the photo turns on its own when the visitor stops moving, and moves on to the next room, which suits a page left open on a screen. The founder price is US$24 a month, or US$19 a month paid yearly, for subscriptions started until 31 December 2026 (see plans). You can try it on Free with 3 tours online at a time, with the Vistura brand.
If the tour does not show
| What you see | What to do |
|---|---|
| The code shows as text | You pasted it into a text block. Use an HTML or code block. |
| A blank space | Check HTTPS, your builder's plan and your account's rights |
| A message that the tour is private | Make the tour public. The same code then works, with no new code. |
| Too tall or too short | Change the height, or use aspect-ratio as above |
| Visitors see it, you do not | You are logged in; on Squarespace use Preview in Safe Mode |
Conclusion
Embedding a tour takes four steps: copy the code, paste it into an HTML or code block, size the frame for phones, and check it with your thumb before you publish. Most problems come from the builder's plan or your account's rights, not from the code.
Frequently asked questions
Can I embed a virtual tour without a paid website plan?
It depends on the builder. WordPress.com shows iframes only on a plugin-enabled plan with hosting features activated, and Squarespace only on Core, Plus or Advanced. On a self-installed WordPress site, an account with the right to add code can paste it; Wix's help page for its HTML embed names no plan, only that the code must use HTTPS.
Will an embedded tour slow down my property page?
Much less if you add loading="lazy" to the code. The browser then waits until the reader scrolls near the tour, so the photos and text above it load first.
Can I put a 360 tour on Zillow, Rightmove or other portals with the embed code?
Each portal sets its own rules for virtual tours. Where the listing form has a virtual tour field, paste the tour's link there, and check the portal's own help for which tours it shows.
Do I need a new code when I change the tour?
Not if the code points at the tour itself rather than a copy. In Vistura the code uses the tour's id, so your edits show on your site straight away and the code keeps working.